
A weekend gallery wall that goes easy on rental drywall
A gallery wall looks complicated until you treat it like a paper project. You can plan the whole arrangement on the floor, move it onto the wall with painter's tape, and only then make a hole — or use a removable hook if the lease prefers that.
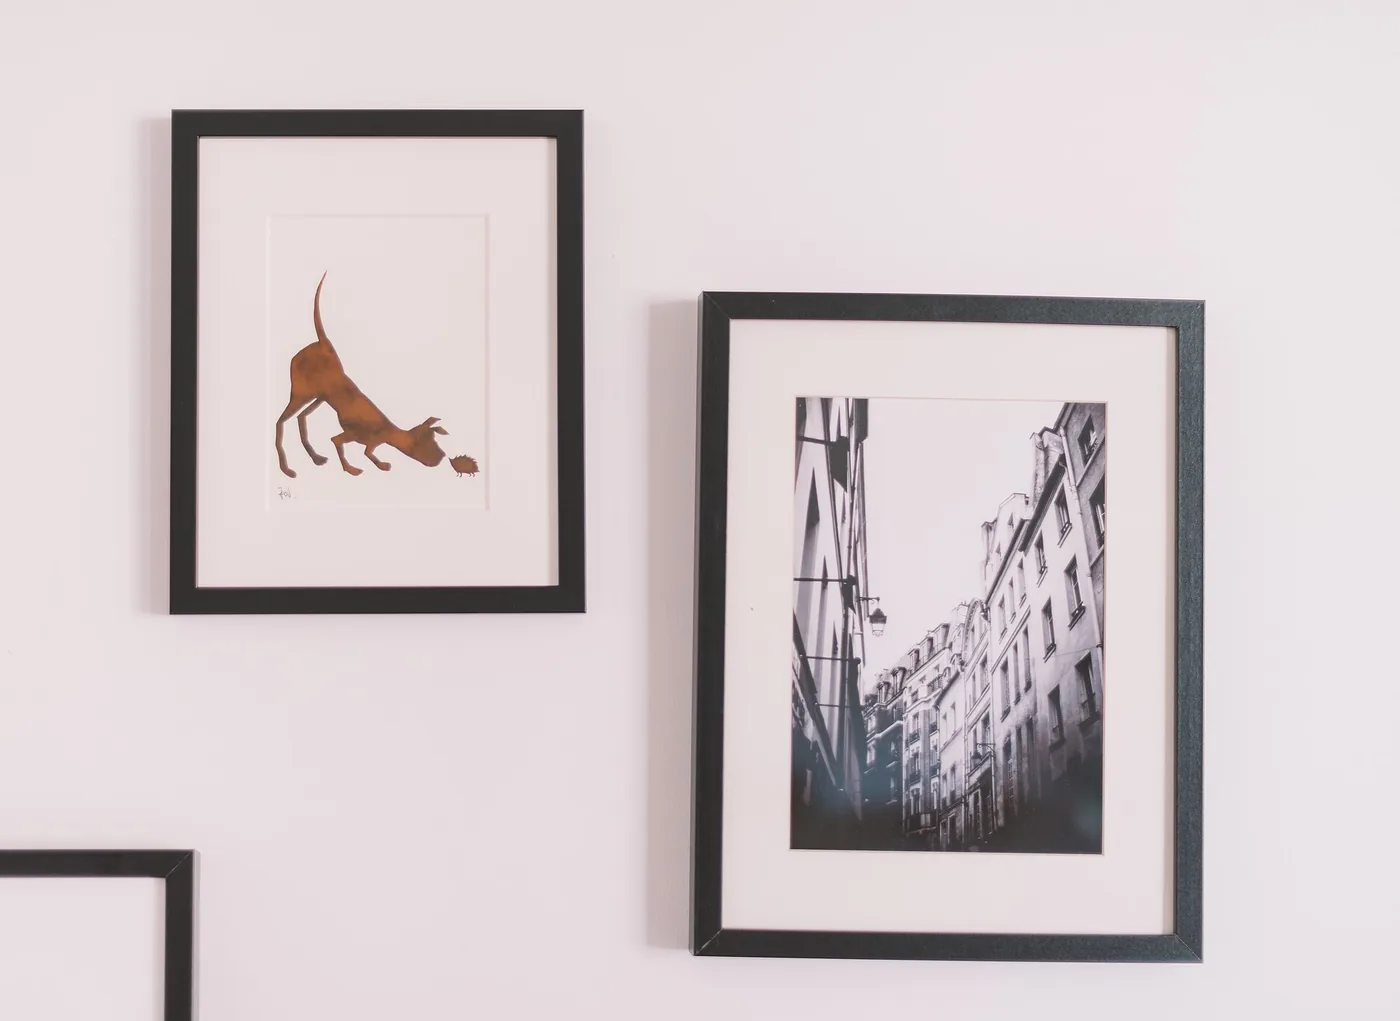
Start with the frames you already have. They don't need to match. They do need a shared line: a common top edge, a shared center line above the sofa, or an even gap between frames, usually about two fingers.
Paper first, hammer later
- Trace each frame onto wrapping paper or newspaper and cut the rectangles out.
- Mark the hook point on each paper (that's not always the center of the frame; flip the frame and see where the wire or sawtooth actually sits).
- Tape the papers to the wall and live with them for a few hours. Adjust until the group sits evenly over the sofa or along the hall.
- Only then hang the real frames, one at a time, starting with the one that defines the center or the top line.
Hooks, drywall, and what the package is for
A small picture hook or a removable strip is enough for many light frames. Heavier glass and big frames need a hook or anchor that's actually rated for that weight — the number is on the package, not in a blog post. If you hit a stud, a screw into the stud is stronger than an anchor in hollow drywall.
If the wall is freshly painted or the paint already flakes, test a removable strip in a closet. Pulling paint off a living-room wall is a worse outcome than a single small nail you can fill later.
Stand back after the first frame. The rest of the wall is easier once that one is true. And when you move out, the papers you saved (or a phone photo of the layout) make it obvious which holes to fill.
More in Interior Club
- Shades that actually darken a rental bedroomIf you sleep in after sunrise, or you work nights, a thin bedroom shade is usually the problem you feel first. Light sneaks around the sides
- Kelvin and lumens: how to read the bulb aisleThe lighting aisle in a U.S. hardware store is easier once you ignore wattage as a brightness number. Watts tell you about energy use. Lumen
- When your apartment kitchen doesn't have a work triangleDesign textbooks still talk about the kitchen work triangle: sink, stove, and refrigerator in a neat three-point path. Plenty of U.S. apartm
- Will the sofa make it through the door? A hallway checkThe living-room wall can be wide enough and the sofa still won't enter the apartment. In walk-up buildings especially, the binding constrain
More to read on CampusDown
Practical nail guides in English for home and the salon — no fluff, just steps you can follow.
Life Up Moving, records, and household money in the U.S.Plain-English paperwork guides that point to official sources: change of address, what to keep, unclaimed funds.