NAIL UP · NAIL ART & CARE · Nail Art
At-Home Nail Art for Beginners: 6 Easy Designs You Can Do Tonight
 Campusdown Editor1 views
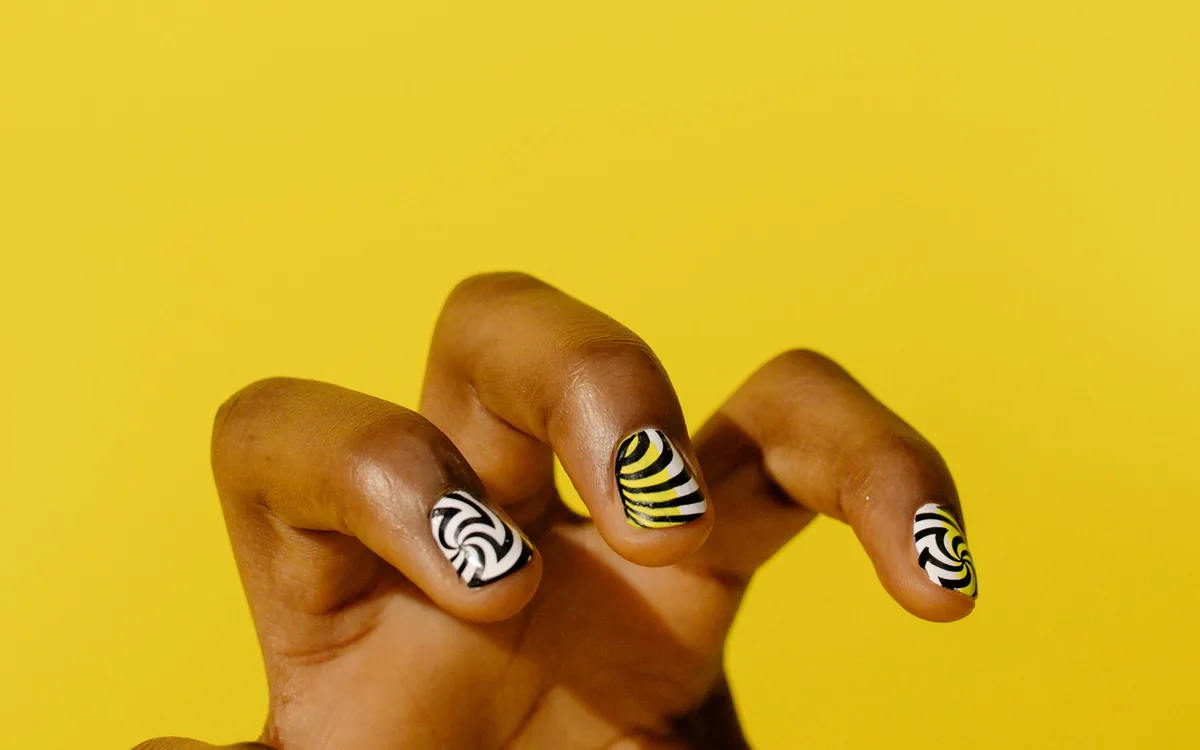
The easiest nail art for beginners uses tools you already own: a bobby pin for dots, tape for clean lines, and a makeup sponge for gradients. Start with one accent nail, keep designs small, and always finish with a top coat so the art doesn't smudge or chip.
Your starter kit
- Base coat and a glossy top coat
- Two or three polishes that contrast (a light, a dark and one bright works well)
- A bobby pin, toothpick or the end of a paintbrush for dots
- Regular clear tape or thin striping tape
- A makeup sponge
- A small flat brush or cotton swab dipped in remover for cleanup
Design 1: Simple dots
Put a drop of polish on a piece of foil. Dip the round end of a bobby pin and touch it to a dry base color. One row of three dots near the cuticle looks clean and modern. Re-dip after every dot or two.
Design 2: Taped stripes
Let your base color dry completely (wait longer than you think). Lay a strip of tape across the nail, paint the exposed part with a second color, and peel the tape off while the polish is still wet. Pull away slowly at a low angle for a crisp line.
Design 3: Sponge gradient
Paint two colors next to each other on a makeup sponge so they slightly overlap. Dab the sponge onto the nail, rolling it a little. Repeat two or three times to build color. Clean the skin with remover, then add top coat, which also smooths the texture.
Design 4: Easy French tip
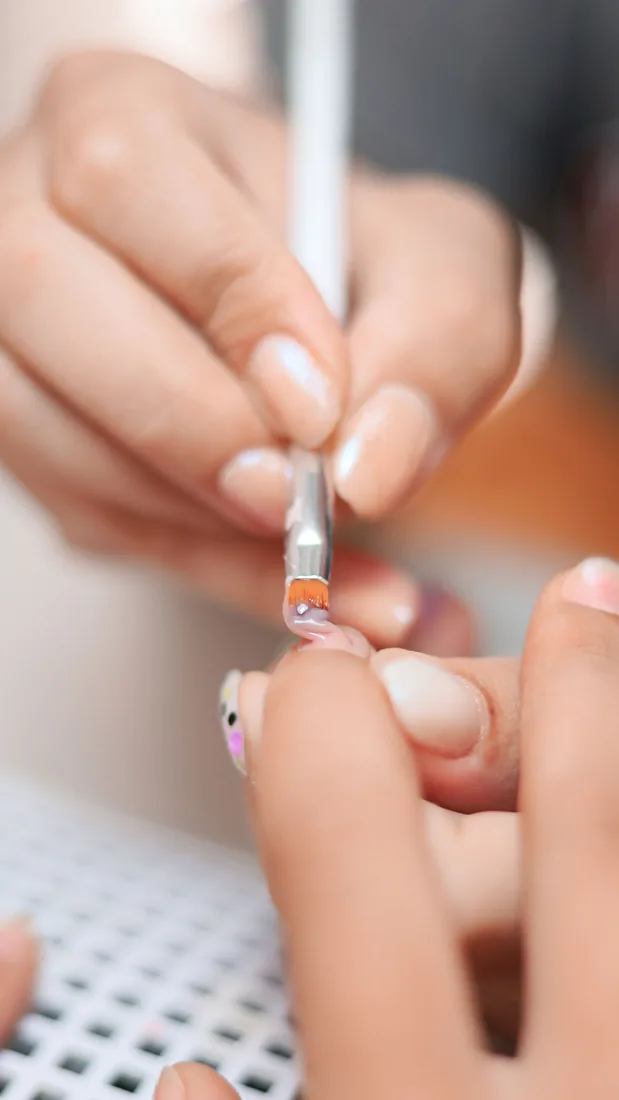
Use the curved edge of a reinforcement sticker or a strip of tape as a guide across the tip, then paint above it. If you'd like more ideas here, we wrote a whole guide to French manicures, from classic to micro.
Design 5: Negative space half-moon
Skip the base color. Stick a small round sticker or a piece of tape near your cuticle and paint the rest of the nail. Peel. You'll get a bare crescent that looks expensive and is very forgiving.
Design 6: One glitter accent
Paint four nails in a solid shade and the ring finger in glitter. It's the oldest trick in the book because it works, and glitter hides small mistakes.
Cleanup makes it look professional
Dip a small flat brush (an old lip or eyeliner brush is fine) in remover and trace around the edge of each nail. That crisp border does more for the final look than any design.
Make it last
Seal everything with top coat, wrapping it over the tip. Nail art chips at the edge first. More tips are in our post on making a manicure last longer.
More from Nail UP
 Nail Trends to Try This Winter: Chrome, Micro French, Milky Nails and More
👀 6 reads
 Gel vs Regular Nail Polish: Which One Fits Your Life?
👀 2 reads
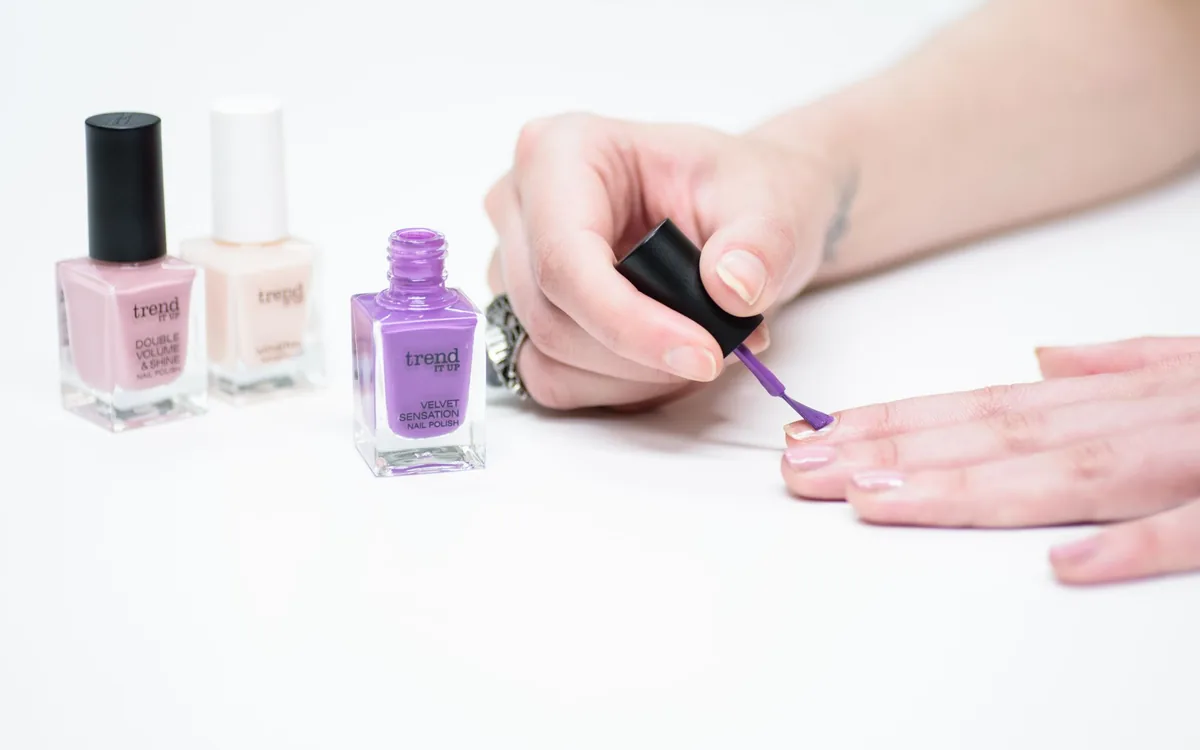 How to Make Your Manicure Last Longer: 9 Habits That Actually Work
👀 1 reads
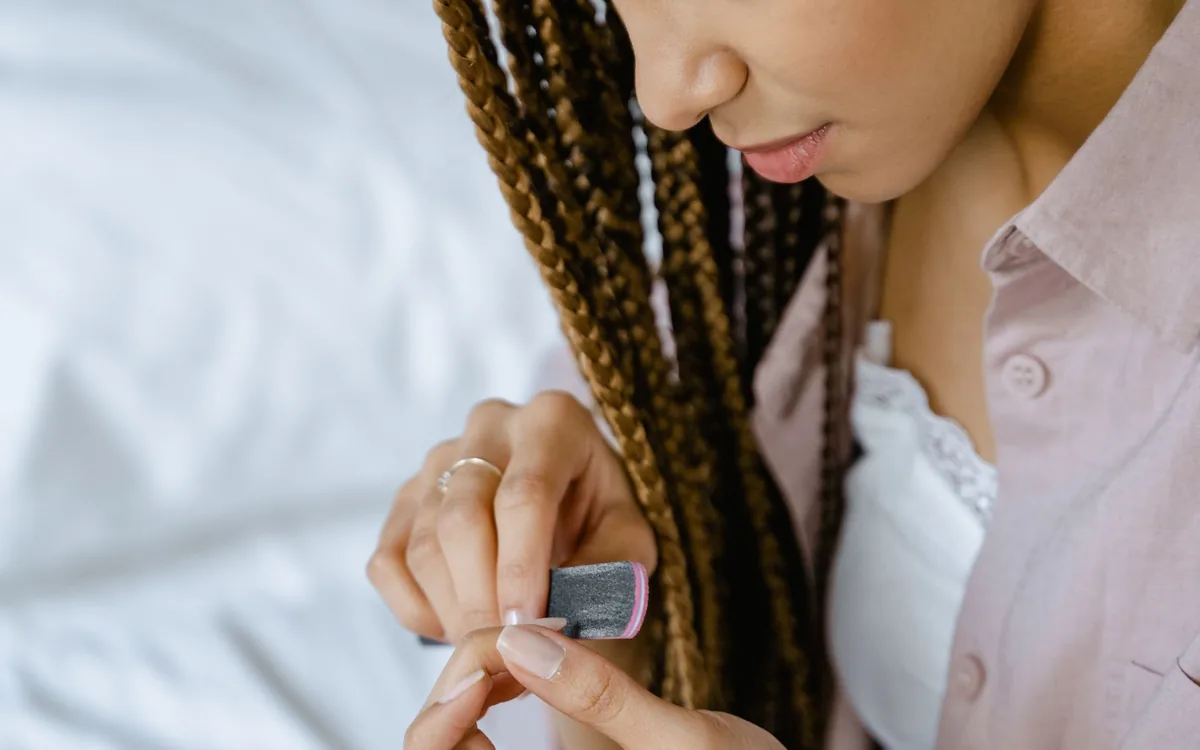 How to Choose a Nail Shape: Square, Oval, Almond, Coffin and More
👀 1 reads
More to read on CampusDown
English guides for U.S. rentals: measure before you buy a sofa, layer the lighting, and change what your lease actually allows.
Life Up Moving, records, and household money in the U.S.Plain-English paperwork guides that point to official sources: change of address, what to keep, unclaimed funds.
Send it to friends who need it in one tap. Every share helps us a lot.